Trench drains are one of the most effective and durable drains that you can use in any application. Concrete drains can be ideal for many locations, including indoor areas where you might need to use water for cleanup or that are exposed to the elements during wet weather.
Even if the floor of your factory or your walkways seem like they are impervious to moisture, most surfaces are actually quite susceptible to damage when exposed to water. You will want to make sure that there is no water pooling on your floors or roadways to help ensure their longevity. Trench drains are a great solution for this need, and there are many sizes and styles of trench drains that you can choose from.
Step-by-Step Procedure to Install a Trench Drain System in Concrete
1. Designing the “in-Concrete” Trench Drain System
The first key part of the process of adding a trench drain to concrete is the design. You will need to consider the size of the drains that you want to use, the gratings that you want to place over them, and the slope of the floor or roadway. Correct placement of your trench drains is key if you want them to be effective for your needs.
Pouring a concrete trench drain in place can be very expensive and is often not the recommended way to create these drains. You will instead find that hand-formed concrete drains are usually the best option for this kind of location, but there is some skill associated with creating a drain using this method. Working with a skilled installer is key when designing and installing concrete drain systems.
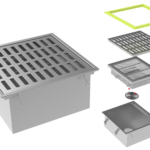
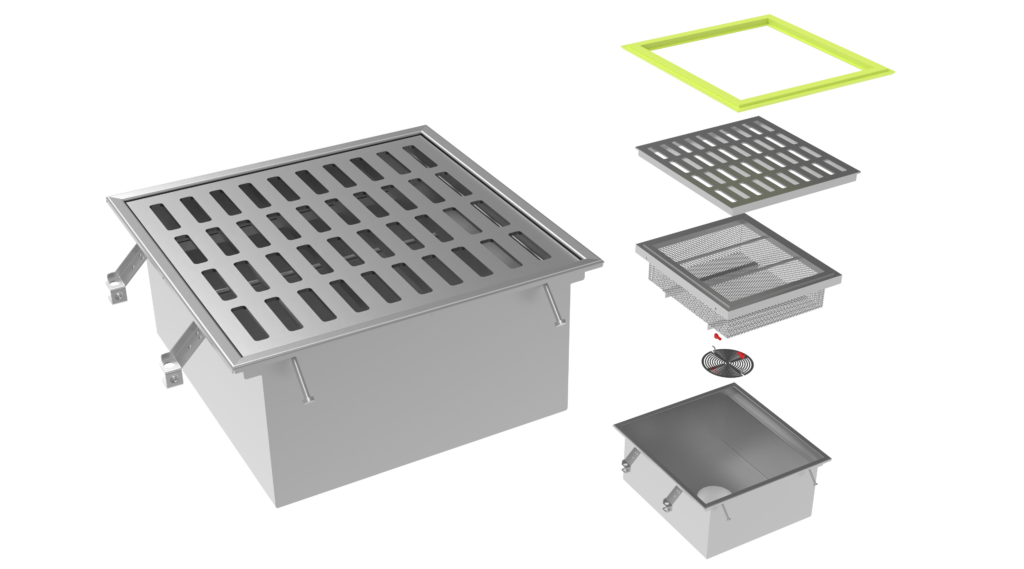
2. Choosing the Correct Dimensions for a Concrete Trench Drain
The next consideration is the size of the drain and the gratings based on the design that you have worked out. The width of these drains is usually the width of the grate plus ¼ inch to make sure that the grate has a ledge to sit on. The width of the grate seat should be the grate width plus ¼ inch, which helps determine the size of the trench drain itself.
You will also need to know the volume of water that needs to be drained away from an area before you choose the size of your drains. The maximum flow of water is what you should base your design upon. Even if the area in question almost never sees that much water running through it, your drain needs to be the right size to tackle the highest level of demand that it might be exposed to.
3. Hand-Forming Considerations When Installing a Trench Drain in Concrete
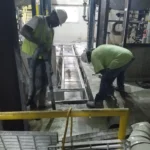
If you are going to hand-form the drain, you will need to excavate correctly for this process. Installing the rebar and the guides for pouring in place is essential, and you will need drain walls and footers to keep the concrete in place while it cures. Your footer needs to be 6” wider on either side than the total width of the trench walls.
You will also need to be sure to excavate to the planned depth of the drain plus the thickness of the concrete itself. U-shaped rebar will be used for this kind of drain as well. Make sure your elevation of the top of the footer concrete is set to the flow line of the concrete channel drain.
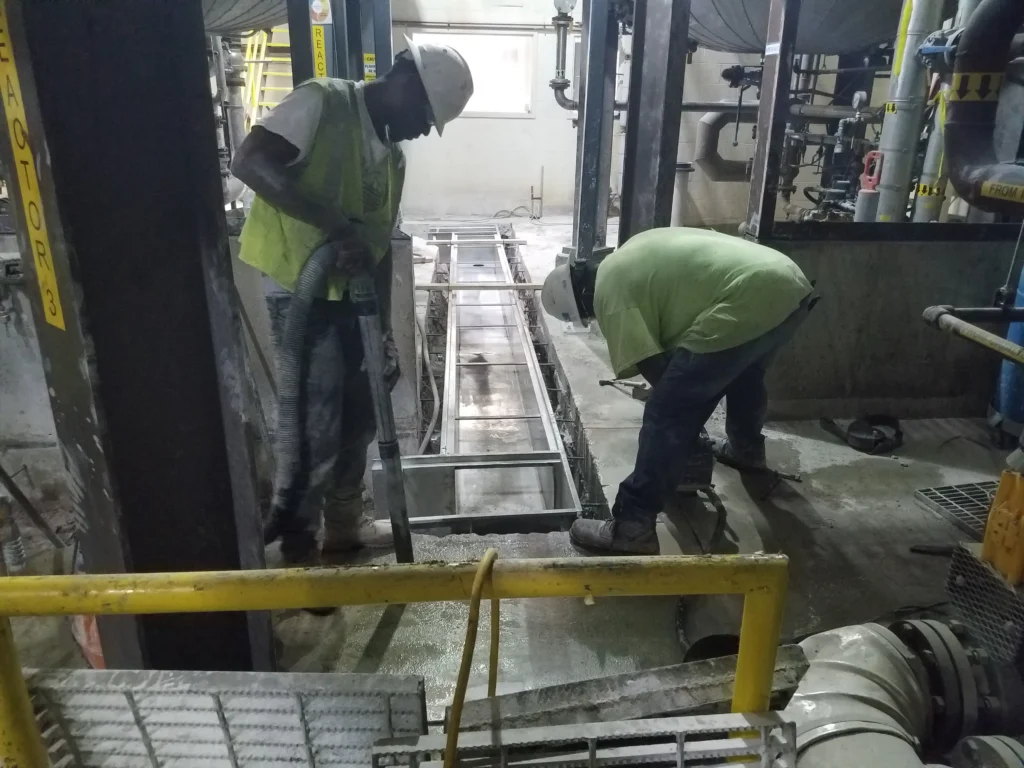
4. Bracing Techniques for Concrete Trench Drain Installation
Once the trench drain footer has been poured, you will need a water stop to be installed in the trench if it is deep or if it will be located inside of a building. Wet setting the PVC water stop into the concrete is the best way to handle this part of the job.
Trowel the inside of the trench to remove imperfections and make it smooth. You will smooth the inside of the trench drain with forms that are placed smooth side out toward the rebar cage. Cross-brace these forms across the inside of the trench drain.
When the footer is poured, it will need to be troweled smoothly right away. Screw the forms or nail them to the bottom of the trench drain footer and then brace them across from one another. The top of the trench drain frames will need to be set at the finish elevation with a strip of wood.
Tips and Tricks for Effective Trench Drain System Installation in Concrete
Always determine the design of your trench before you select the frame and the drain grates. The dimensions of the design need to be correct for the other items in your system to be crafted and placed correctly. Also, make sure that you are using the right kind of framing to ensure that the drain is easy to install and will not fail. Make sure that the width of your drains has been calculated correctly so that your grates will seat correctly and stay in place.
The elevation will need to be set correctly, or your drain will not work. A laser can be a big help in determining this part of the design. Do not pour the footer until you know for sure that the elevation has been set correctly. The elevation will prevent debris and other items from collecting in the drains and will ensure that your drainage system can handle the maximum flow of water that will be demanded of it.
Benefits of Installing Trench Drains in Concrete: A Great Drainage Solution

There are many reasons that you might want to install a trench drain in concrete. These are durable drains that can hold up to tough challenges, and they are ideal for manufacturing or factory location use. You should always be sure that you work with a skilled installer if you want to install this kind of drain. You will have much better results and get the exact drainage system that you have been looking for with the help of a skilled installer.
Hand-formed drains do require more skill than other trench drain styles to install, but they are so durable and effective that they are often still the best choice for certain uses.