As you consider adding or upgrading your drainage system, you may have a lot of questions about how the process works. Trench drains are one of the easiest drain types to install and are also some of the most effective drains that you can invest in. Installing a trench drain doesn’t take a lot of time and effort and the right team of professionals will be able to get the work done for you quickly.
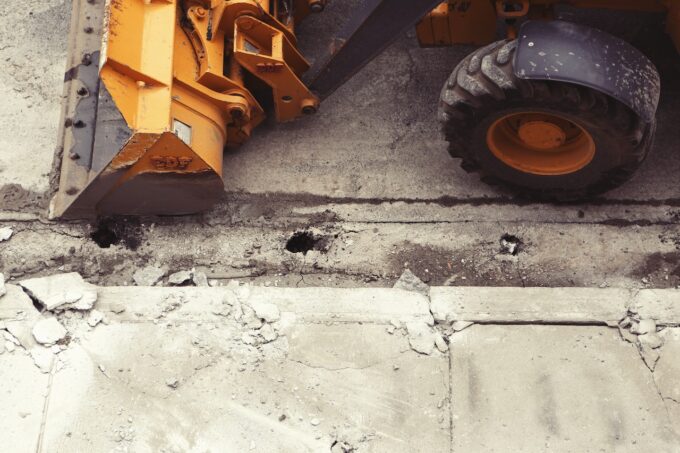
It is possible to complete a trench drain installation process into existing concrete. Retrofitting a trench drain system is really easy, which is part of what makes this drain style so attractive and effective. Since it is possible to install the steel trench drain into existing concrete to remove standing water and all of its hazards, you will find that it can be one of the best options for many homeowners.
| Standard Trench Drain Widths | Frame Choices |
| 2” | Painted steel, galvanized steel, iron, stainless steel, aluminum, plastic, fiberglass, brass, bronze |
| 4” | Painted steel, galvanized steel, iron, stainless steel, aluminum, plastic, fiberglass, brass, bronze |
| 8” | Painted steel, galvanized steel, iron, stainless steel, aluminum, plastic, fiberglass, brass, bronze |
| 10” | Painted steel, galvanized steel, iron, stainless steel, aluminum, plastic, fiberglass, brass, bronze |
| 12” | Painted steel, galvanized steel, iron, stainless steel, aluminum, plastic, fiberglass, brass, bronze |
| 18” | Painted steel, galvanized steel, iron, stainless steel, aluminum, plastic, fiberglass, brass, bronze |
| 24” | Painted steel, galvanized steel, iron, stainless steel, aluminum, plastic, fiberglass, brass, bronze |
| 36” | Painted steel, galvanized steel, iron, stainless steel, aluminum, plastic, fiberglass, brass, bronze |
| 48” | Painted steel, galvanized steel, iron, stainless steel, aluminum, plastic, fiberglass, brass, bronze |
Trench Drain Installation Process
1. Excavate, Grade, Compact
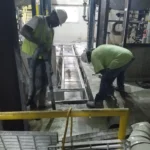
The first step for any trench drain installation is to excavate the space for the ditch and to grade and compact the area in preparation for the drains to be placed. You will need to excavate to a depth that allows for the drain to be placed and also for the recommended concrete encapsulation to be placed. The grade of the ditch should match the grade of the drains and be optimized for the slope of the area in question.
Compacting the area within and around the trench will provide the necessary stability for the entire installation. You cannot skip any of these steps if you want the trench to work well when it is done. This step will take some specialized tools, but the right installation company will have these ready to go.
2. Add Vapor Barrier and Rebar Support
The next step is to place the vapor barrier and to make sure that all the seams and penetrations are sealed properly. Water getting into the area around the installation or flowing under the trench can undermine the trench and cause it to fail. The rebar supports need to be installed properly to ensure the trench can do its job.
Tie all the rebars to make sure that the cage is rigid enough to support the installation properly when it is completed and has time to set up and become firm.
3. Get Trenches Ready for the Trench Drain
All of your trench drains will come pre-assembled and ready to install. You will need to remove the bands and the pallets to get access to the trenching materials that have been sent to you. For those using U-shaped rebar legs, you will need to insert the legs into the install brackets and then tighten them to the form. Straight bars require that you do not put them all in at this time. You will need to make sure that straight bars are ready to be added as the alignment of the trench is adjusted and corrected.
Start at the deep end or the outlet of the run and place the forms beside the trench in the right order. The trenches will be numbered according to the drawings that were used to build the system for you. The deepest sections will always need to be placed next to the outlet pipe. The trenches will get smaller sequentially as you head away from the outlet location. The trenches also come with arrows to help guide this part of the installation process.
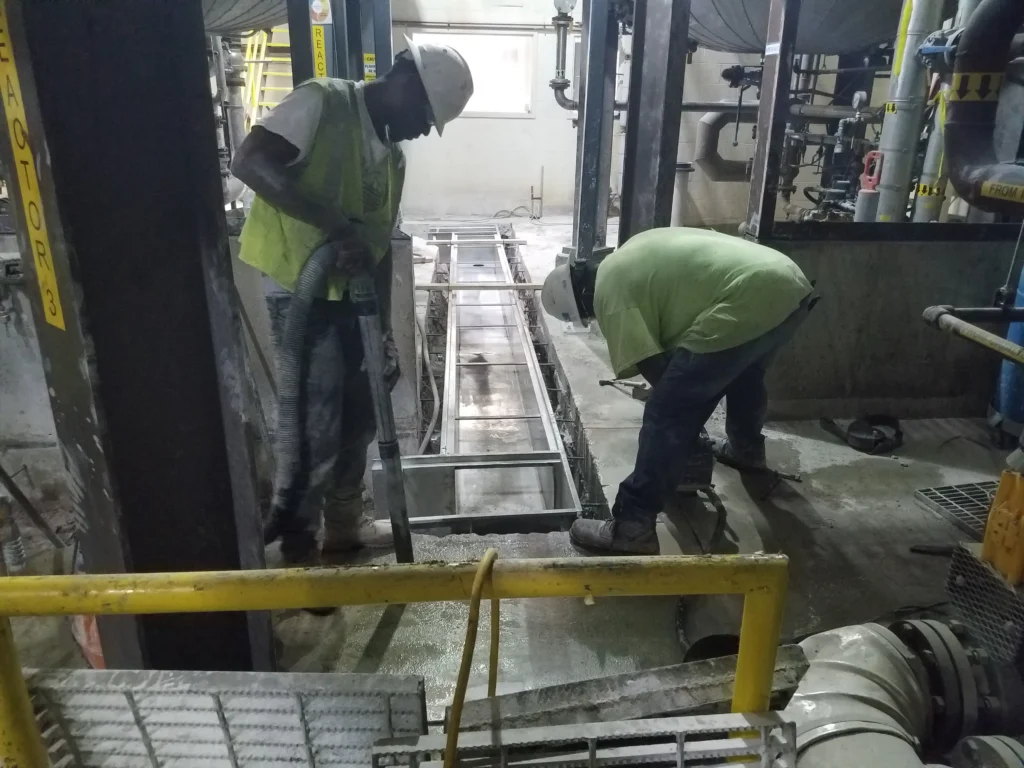
If you are doing a retrofit, the easiest way to complete this part of the process is to install the trench by hanging it from the existing slab. You will just need 2×4 lumber for this process, and it will need to span the opening from form to form. You will use wood screws and drywall to secure the trench to the form.
4. Add Installation Legs
Rebar legs are used during the installation process. When you must place without puncturing the vapor barrier, you will use U-shaped rebar legs. If there is no vapor barrier, you can use straight rebar for this part of the work. You will need to use a string line to help with elevation corrections. Pull the trench up to grade in sections and then use screws to set the rebar straight to support the trench.
Apply urethane joint sealant as you join the trench parts at each connection of each section of the trench. Add additional installation legs as needed if you think that the trench requires this support. Deeper trench sections will likely need more support than those sections away from the outlet.
5. Connect to the Outlet Pipe
The next step is to connect the trench line to your outlet pipe. The right part for this step should be sent with the rest of the equipment, making it easy for you to get it done. Pipe fittings are usually pre-attached to the sections of the drain, so you should just add urethane caulk and screw in the section in question for support.
The size and type of the drain line impact the way that the connection is made to the outlet. You will need to think about the outlet size before you order your trenches. If they do not fit well with the outlet, you will have to restart and get different parts.
6. Place the Mud Slab
This step is necessary to keep the trench from floating when the concrete is poured. You will need to pour 2-3 inches of concrete into the bottom of the entire excavation for the trench. The rebar legs should be covered up and completely encapsulated by this concrete. This part of the process is essential, and you need to wait for two to three days required for the concrete to set up before proceeding. In very hot weather, this might only take part of a day.
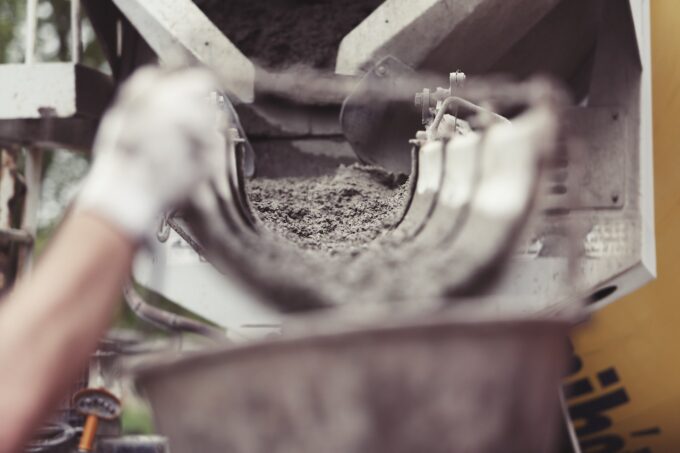
7. Place Concrete
The rest of the concrete can now be placed. You will start at one end and work to the other so that the concrete is even. Make sure that you are not placing concrete on only one side of the drain at a time. This can cause the drain to shift out of place. Always check that you vibrate the concrete about 8’ from the trench so that the trench is not shifted out of place during this part of the installation. Never stand on the rebar legs during this part of the work.
The vibrator should be inserted at 1’ on the center and then pulled back when air bubbles stop coming to the surface. Never remove suspension wires or lumber before the entire vibration process is completed.
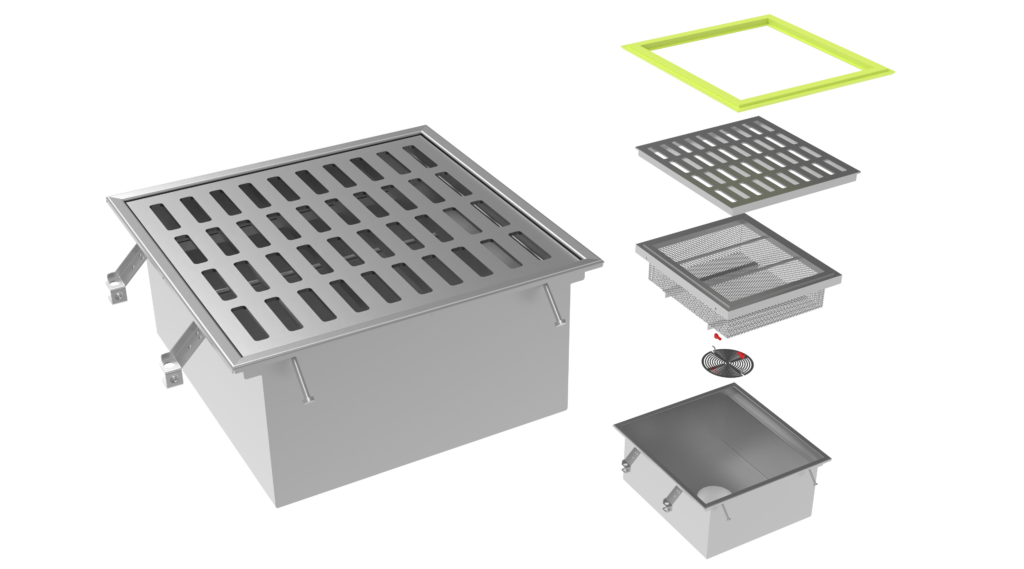
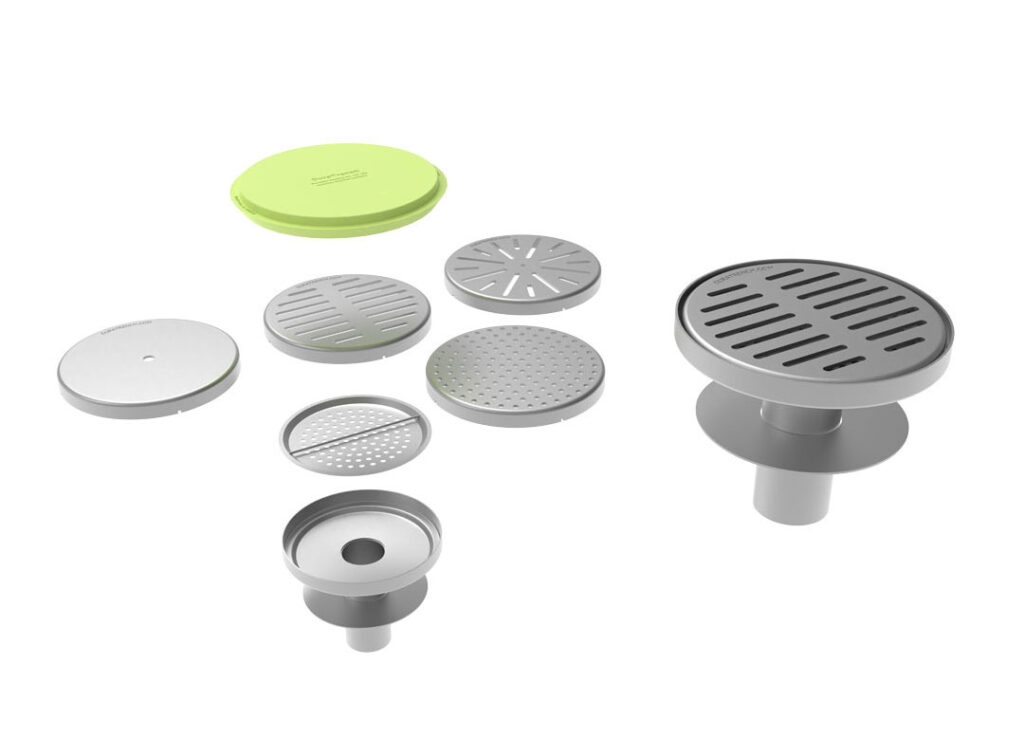
8. Place Grates and Slot Drains
You will now need to remove the plywood tops on the installed drain. Once the bolts are taken out, and the plywood is removed, you will need to install the grates that you ordered to match the drain. Grates usually have about a 1/8” gap between them for expansion and contraction. Locks might be installed in your system if traffic needs to pass over the drain, and you will want to make sure to lock down the grates before you start using the trench. These slot drains can help the water go through, without anyone getting hurt.

Installing a Trench Drain Can Be Really Easy
You can count on trench drains in many situations. You can install a drain in an existing location just as easily as adding a new drain before you complete other projects in the area. Trench drains are highly effective and affordable, and you can opt to install your own drainage system if you wish. Stainless steel trench drains will last for years when properly maintained, and it can be trusted to take on large volumes of water with ease.